
The four jaw chuck for the SouthBend SB1001 lathe is sold separately as the SB1468. However, the camlock adapter still requires machining before it can attach to the chuck. While performing this machining on the lathe where adapter plate will be used, matches the two, minimizing run out, the work can be intimidating. However, the steps consist of routine operations, and if done slow and carefully great results can be obtained.
Before machining the adapter plate, the camlock studs must be installed into the adapter plate. Adjust their height using the line in the stud as a reference. The studs are secured with cap head screws inserted beside the camlock studs.
Always clean the mating surfaces of the adapter plate and spindle nose before fitting. Test fit the adapter plate on the lathe, taking care to even tighten the camlocks, and securely. The camlocks have marks on them, and should stop turning near the 6-o'clock point. Adjust the camlock studs until satisfied with how the camlocks appear.

The spindle nose has an alignment mark to help ensure a chuck is always mounted in the same position. Make a permanent mark on the new adapter plate matching with the spindle nose alignment mark, perhaps using a punch or engraver.
Before continuing, check if there is any gap between the spindle nose face and the adapter plate. If you can slip a feeler gauge, or piece of paper between the two, you could have a problem later achieving repeatable run out. If the gap is substantial, such as in the photo, you may have a incorrectly machined adapter plate and may want to replace it.

Now cover the ways of your lathe, and consider running a vacuum to confine the dust, and wearing a dust mask. The adapter plate is cast iron and forms a powder when machined, is likely abrasive, and not good for machine or man.
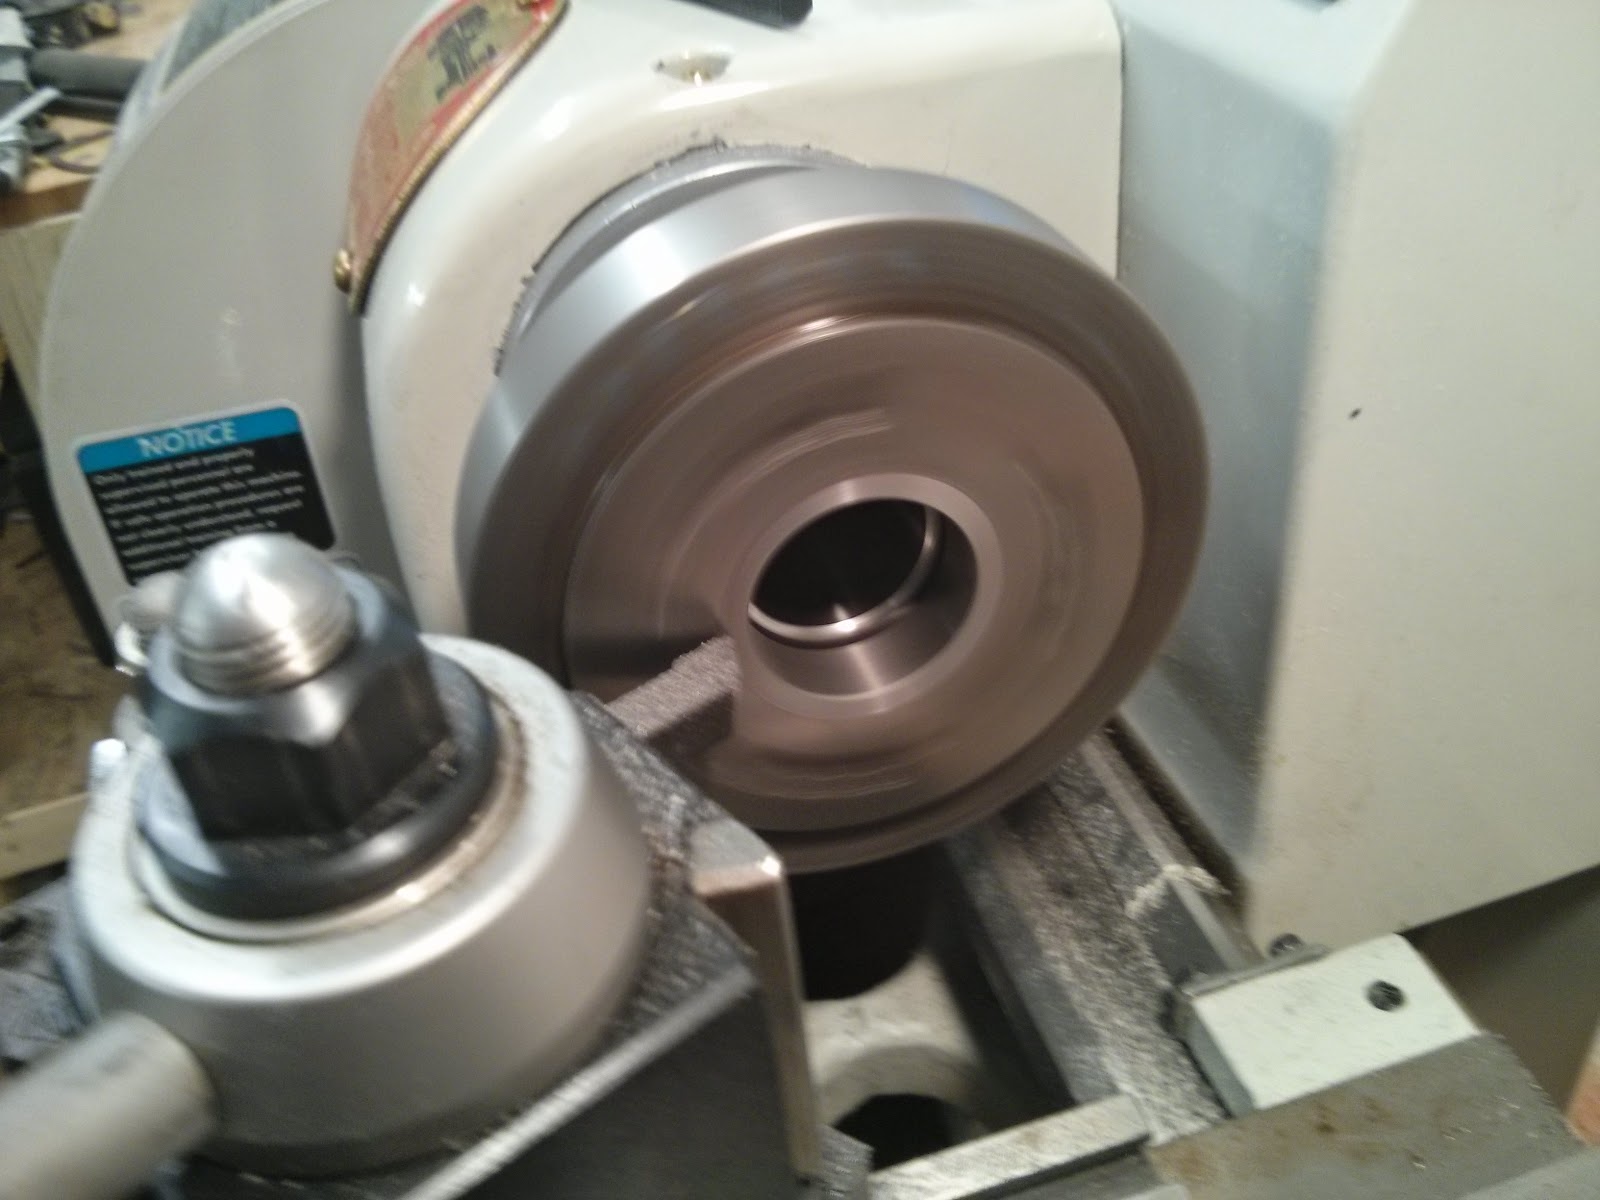
The actual machining requires only simple operations. First, clean the surfaces casting by facing the adapter plate lightly. There is hopefully an inner hub and face that as well. Now, turn the center hub to a diameter matching your chuck. Take light cuts and go slowly. This needs to be done so the fit is tight, but not interfering, as perfect as you can get. Take your time, and sneak up on the diameter slowly. If you go too far, it's possible to turn the outside diameter to form a new hub, but it's a lot more work.
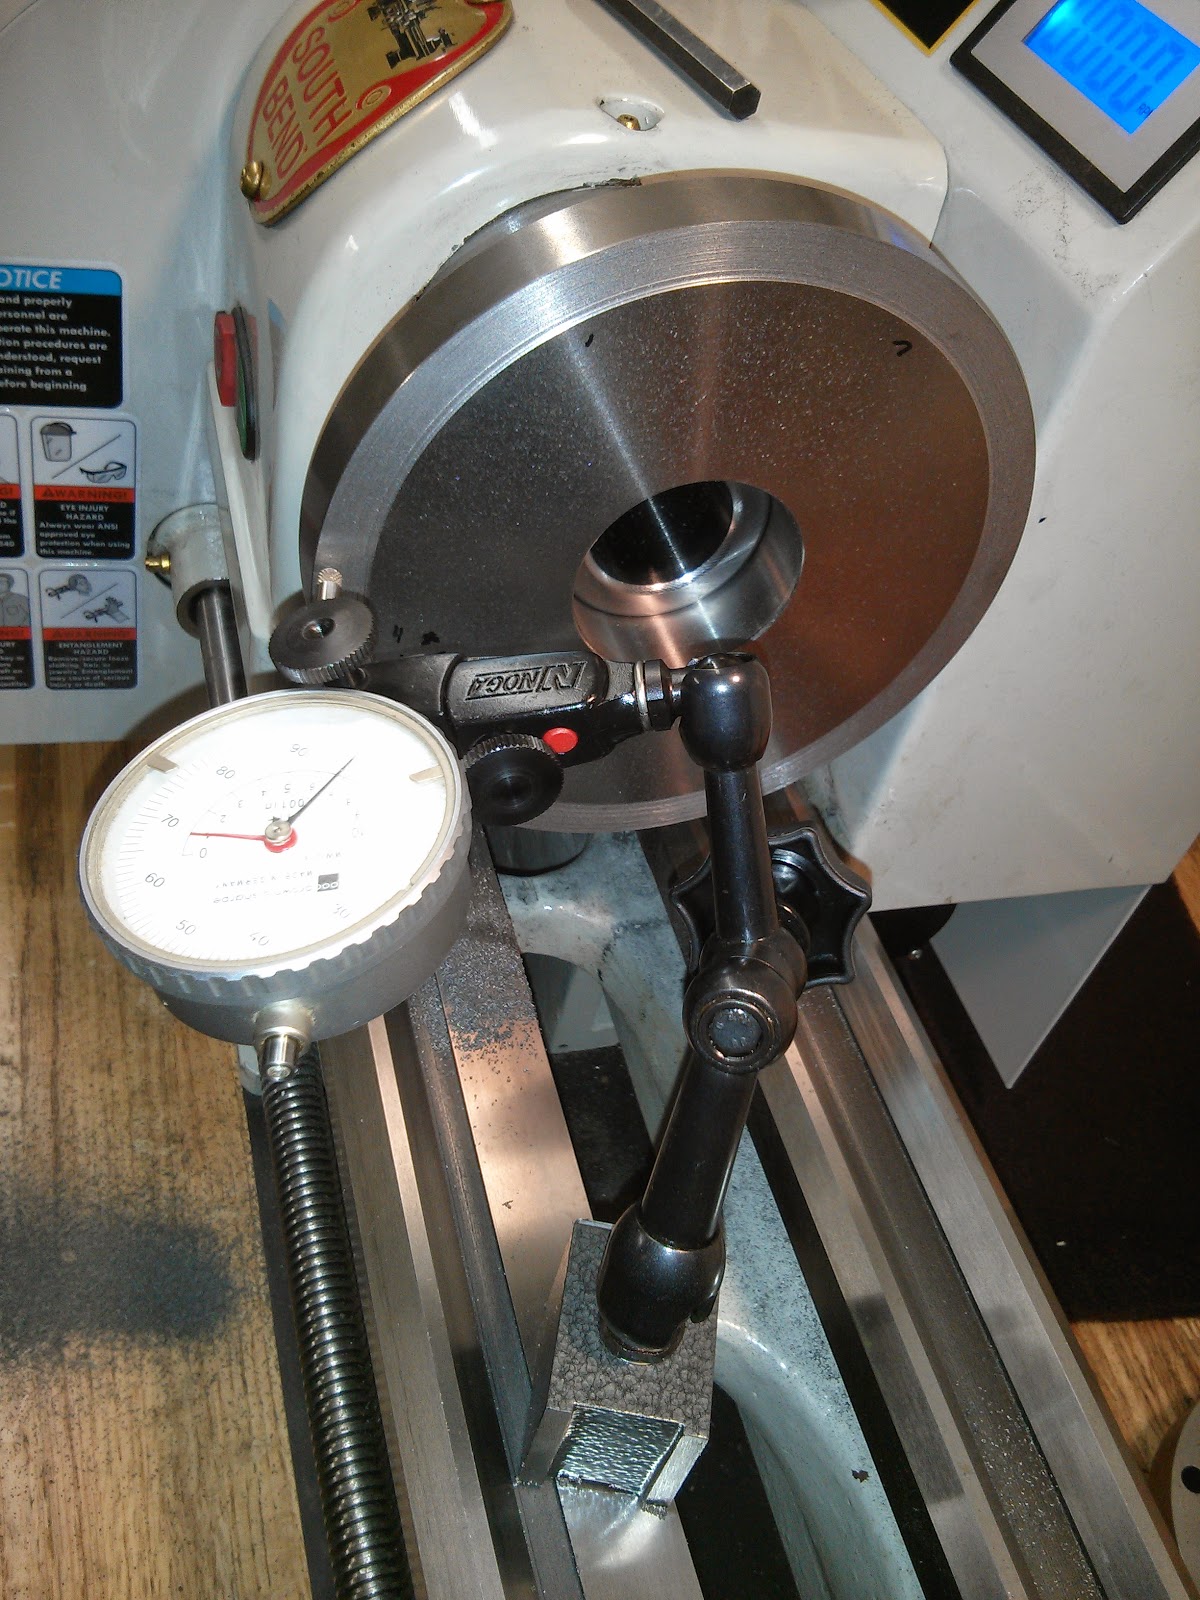
Once the chuck fits the adapter plate, you may want to do a final light facing pass. Check run on the mounting surface of the adapter plate using a dial or test indicator. A runout of less than 0.001" is quite achievable. Now, unmount and remount the adapter plate and recheck the run out. If run out has increased, recheck the camlocks. Try to follow a consistent pattern of tightening the camlock to help ensure the adapter plate is being pulled straight. Make sure the mating surfaces are clean. Mark positions of run out with a marker and remount the adapter plate. Is the high spot is consistent, then there's a chance the initial machining was done with the adapter plate high in a spot. Take a light facing pass and repeat the run out consistency test. These steps may need to be repeated a few times. It may be a little frustrating but being particular at this point will allow you to reduce run out every time the chuck is used. (The picture shown here is of a larger adapter plate, but the idea is the same.)
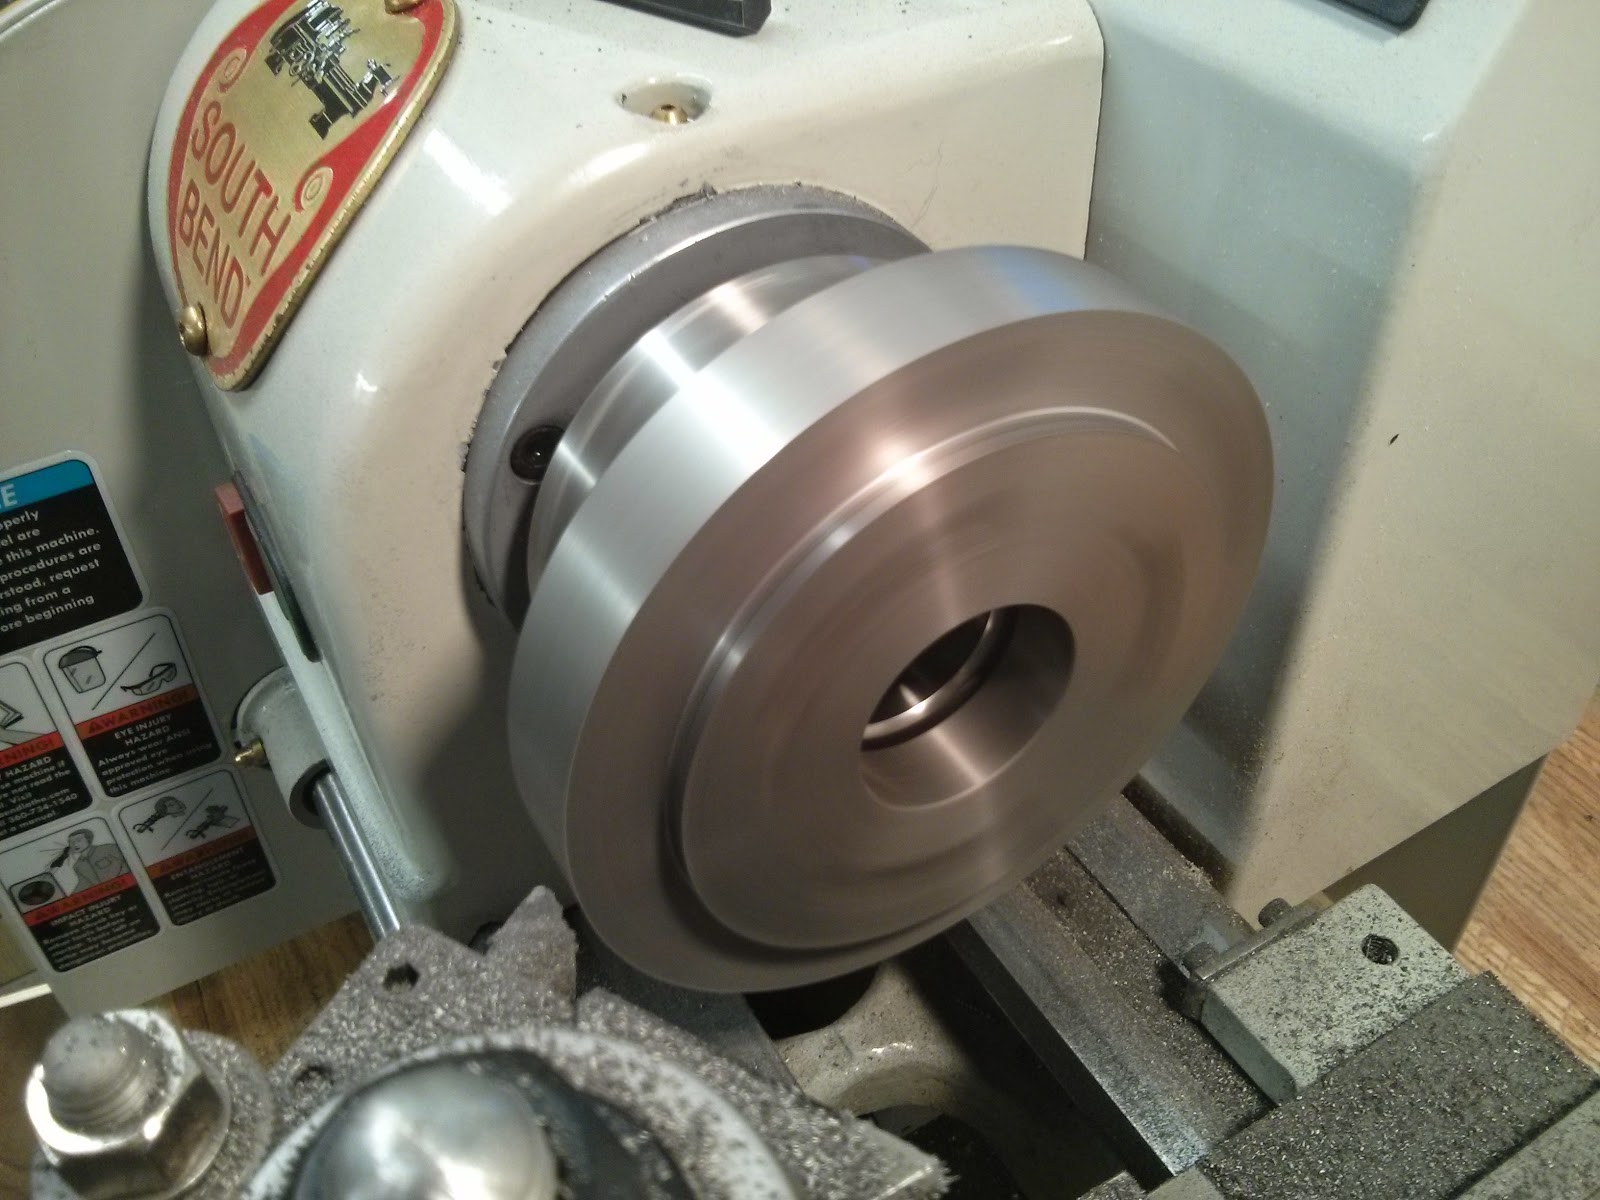
Having achieved minimal repeatable run out, you may want to turn the major diameter of the adapter plate to true it for balance, but mainly for appearance. Break the edges with a file, and polish with Scotch Brite covered in WD40. The surface should look nice after a wipe down.

The chuck attaches to the adapter plate with three cap head screws. Tighten them down evening and snuggly.
Take pride in your work, and enjoy your four jaw chuck.
Epilogue: I wrote these instructions following not finding any available when I did this work. Also, I wanted to report on a problem others might experience. The adapter plate I received was not machined right and did not sit on the spindle nose properly. The adapter plate to pivoted about a high spot on the mating surface with the spindle nose and four sheets of paper could easily be slipped into the crack. If the problem was consistent it may be tolerable, but with each mounting, despite carefully trying to follow the same torquing pattern, the high spot would move. With the adapter plate mounted in the three jaw chuck under power, lightly sanding the high spot using 600 grit sand paper and WD40, closed up the gap, improving the run out consistency, but the run out was still greater than expected with a camlock. Grizzly sent a new adapter plate, but the only one available was a larger model, without a hub, requiring additional machining. Regardless, the results were much improved. A thank you to Grizzly for replacing the adapter plate.
